 Sale$6,81720
$7,17600Unit price /Unavailable-
Sale$9,08010
$9,55800Unit price /Unavailable -
Sale$8,37805
$8,81900Unit price /Unavailable -
Sale$9,54180
$10,04400Unit price /Unavailable -
Sale$30,26303
$31,19900Unit price /Unavailable 
 Sale
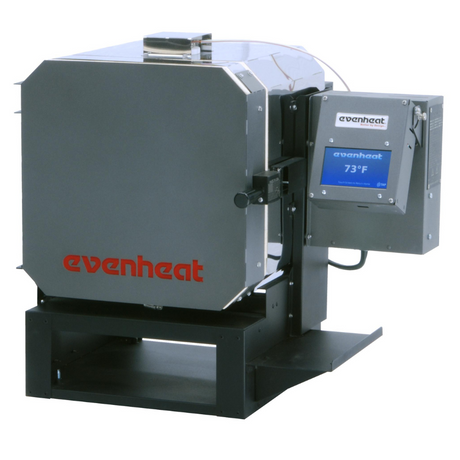
SaleEvenheat Heat Treat Oven - Cube 7
$2,41200$3,01500Unit price /Unavailable
 Sale
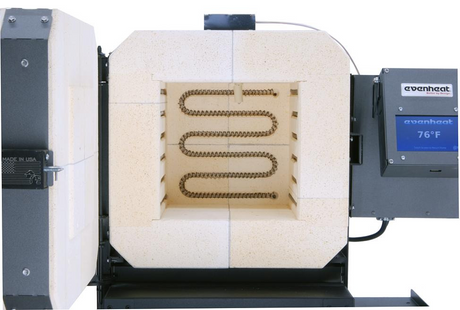
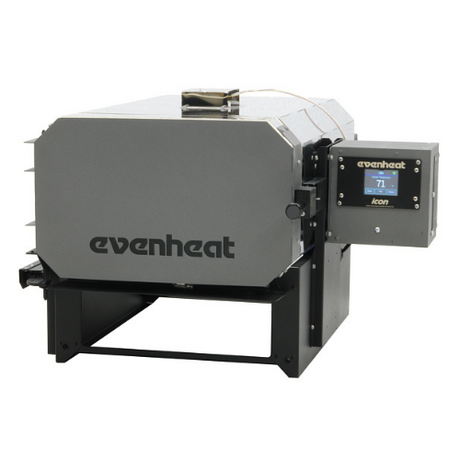
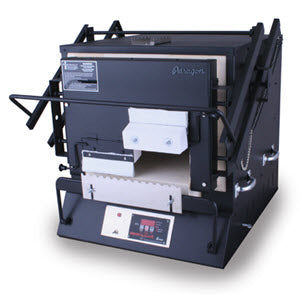
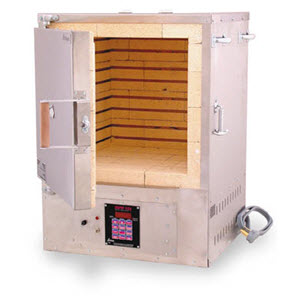
SaleEvenheat Heat Treat Oven - HT-1
$3,45200$4,31500Unit price /Unavailable-
 Sale
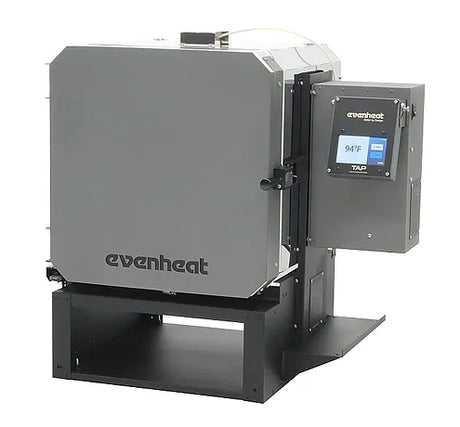
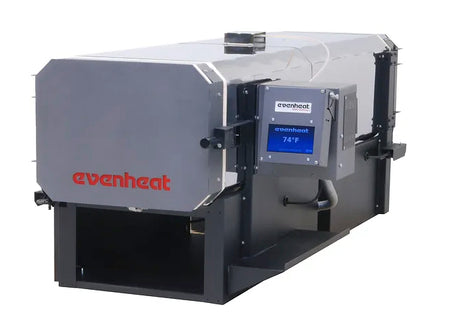
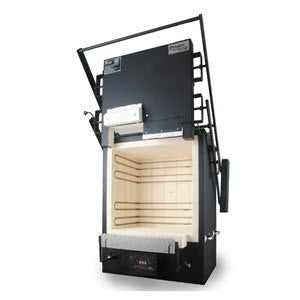
SaleEvenheat Heat Treat Oven - HT-2
$4,31600$5,39500Unit price /Unavailable 
 Sale
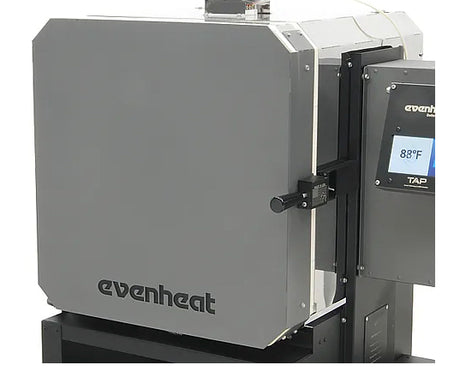
SaleEvenheat Heat Treat Oven - KO 22.5
$2,66000$3,32500Unit price /Unavailable-
Sale
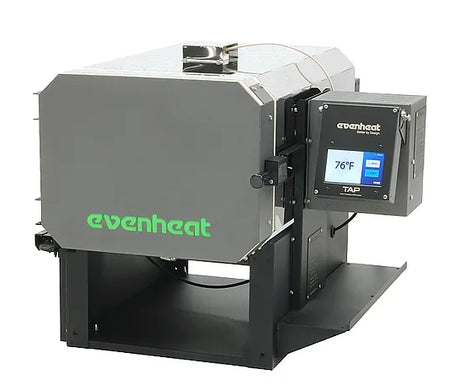
Evenheat Heat Treat Oven - KO 27
$2,92400$3,65500Unit price /Unavailable 
 Sale
SaleEvenheat Heat Treat Oven - LB 22.5
$2,61600$3,27000Unit price /Unavailable
 Sale$4,48000
$5,60000Unit price /Unavailable-
 Sale
Sale -
Sale$3,02400
$3,78000Unit price /Unavailable 
 Sale
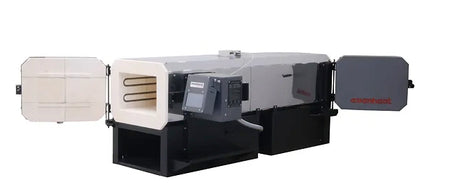
SaleEvenheat Knife Oven - KF 31.5 Extreme Depth
$4,79600$5,99500Unit price /Unavailable-
Sale
Evenheat Knife Oven - KF 49.5 Extreme Depth
$5,23600$6,54500Unit price /Unavailable -
 Sale
SaleOlympic Kiln - Doll E/Test E (ON HAND NOW)
$1,47725$1,55500Unit price /Unavailable  Sale$10,07100
$11,19000Unit price /Unavailable-
Sale
Olympic Kiln - MAS2327HE (ON HAND NOW)
$3,83325$4,03500Unit price /Unavailable -
SaleFrom $5,94000
$6,60000Unit price /Unavailable  SaleFrom $7,20000
$8,00000Unit price /Unavailable SaleFrom $6,21000
$6,90000Unit price /Unavailable-
Sale
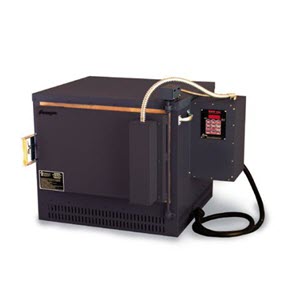
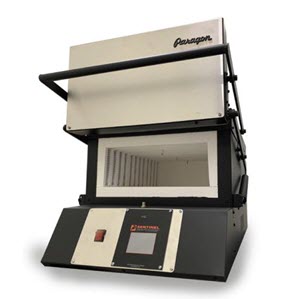
Paragon Kiln - Heat Treating Furnace - PMT13
From $4,65750$5,17500Unit price /Unavailable 
 Sale
SaleParagon Kiln - Heat Treating Furnace - PMT21
From $5,97600$6,64000Unit price /Unavailable SaleFrom $5,79600
$6,44000Unit price /Unavailable-
Sale
Paragon Kiln - Ovation 1022Janus
From $8,10000$9,00000Unit price /Unavailable  Sale
SaleParagon Kiln - SC3 w/ Guillotine Door
$1,98000$2,20000Unit price /Unavailable-
Sale$4,95000
$5,50000Unit price /Unavailable -
 Sale
SaleParagon Knife Oven - Double Barrel 24T Pro 3 Zone
From $5,62500$6,25000Unit price /Unavailable -
 Sale
SaleParagon Knife Oven - Double Barrel KM54
From $6,30000$7,00000Unit price /Unavailable


Frequently Asked Questions
All About Kilns and Ovens
Purchase Considerations for Kilns / Ovens
Purchase Considerations for Kilns / Ovens
What is the size of item you need to heat treat? The type, size, and kiln / oven features you need are determined by the use case. This covers things like heat treatment requirements, loading systems, building components, voltage, controllers, and more. Outlining the needs and use case will help to clarify your needs. You should also consider what future projects might require and can the unit grow to meet those needs?
Where will you be locating the unit? The kind, dimension, and features of your kiln / oven are influenced by where it is. Environment, power supply, safety, and space availability are all important considerations. Your situation might not always line up perfectly with the constraints of your surroundings, this is where we as become creative problem solvers in an effort to overcome environmental constraints.
We're here to support you. Please reach out if you need any additional advice!
Kiln / Oven Unit Placement
Kiln / Oven Unit Placement
Basic Guidelines Kiln / Oven locations:
- Ensure you have adequate space... at least 12 - 18 inches of space between the kiln / oven and the wall. (However, for operator comfort, allow room to walk around the kiln if maintenance is required.) It is recommended that the unit be placed on a stand on top of flame-resistant flooring like a cement floor or board.
- Ensure the area is clean - remove all flammable or combustible materials such as curtains, plastics, rags, paper, packing materials, etc. from the area surrounding the unit.
- Make sure the area is well ventilated – proper air exchange is necessary for your unit to last and provide the best return on investment. Heat from the kiln and outside air can accumulate in restricted areas above both gas and electric kilns.
- Make sure that the heat has somewhere to go, and is replaced by fresh cooler air. Set up a fan near the area, or open a window to ensure good air exchange. Check all local requirements or codes before installation.
IMPORTANT: Always read the owners manual and follow your kiln / oven manufacturer's instructions.
Available Features and Add-Ons
Available Features and Add-Ons
Kilns and Ovens from every manufacturer are configured with features that allow for different types of functions. These features are available in fiber and brick models. Consider these options:
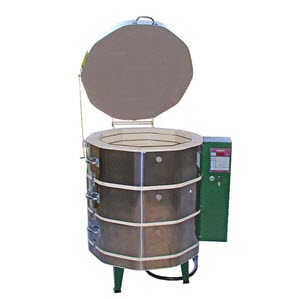
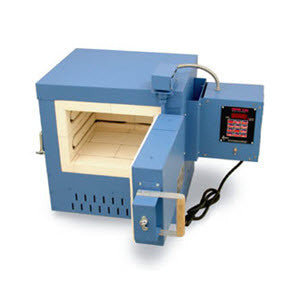
Top Load Kilns / Ovens: Provides good visibility but may be challenging if your items are heavy or you want to heat treat a volume of small items. Also good for heavy items that need to be loaded via overhead crane.
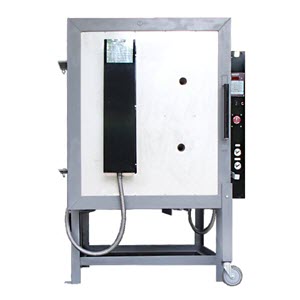
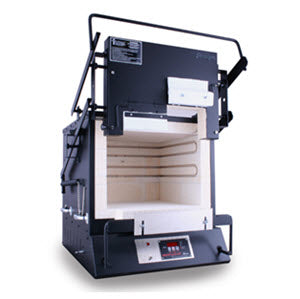
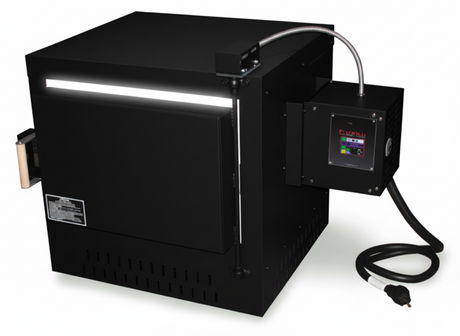
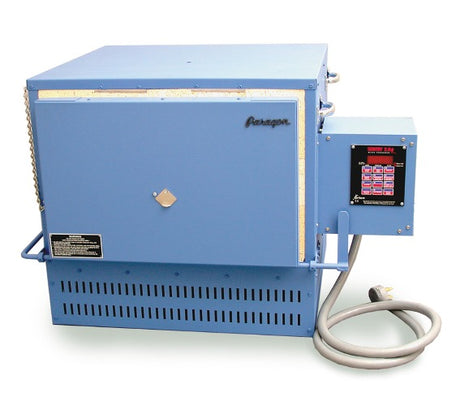
Front Load Kilns / Ovens: Offers control for loading volumes of work. Also great for heat control in zones. Often higher cost when compared to top loading options.
Clam Shell Kilns / Ovens: Combines top and front loading, these types of units deliver the best of both worlds; accessibility and free access to the loading area. Convenience for work that needs to be oil quenched because of easy access, but may come at a higher cost.
Flip Doors/Guillotine Doors: Essential for preheating, and great for projects that must go in and out of the unit multiple times. However, they may have efficiency issues due to heat loss at the door.
Mercury Displacement / Solid State Relays: Solid State Relays have tighter temperature controls and less environmental impact issues than Mercury Relays. In some states MDRs are discouraged due to fines for the disposal of the unit. Both options are considered preferable to mechanical relays that require regular change outs to evade failures.
Atmospheric Controls: The introduction of Argon or Nitrogen gases into the unit chamber can be implemented to reduce scaling of metals when introduced to heating and cooling. Some units have gas flow meters and digitally controlled solenoids to control the flow of gas into the unit. Evaluate your plan to determine if this is a necessary requirement for your unit and the type of process your project requires.
Venting: Downdraft vents and cooling fans are popular add-ons that can make the difference in how often the kiln / oven can cycle in a day. If you have high volume production needs this is something to consider.
Multiple Zones: Based on the size of the unit you may need multiple thermocouples to monitor temperature uniformity throughout the unit. This is based on the complexity of each project's heat treating process and the size of the unit.
Plugs & Electricity / Voltage / Wiring
Plugs vs. Direct Wire (Electrical Specifications)
Plugs vs. Direct Wire (Electrical Specifications)
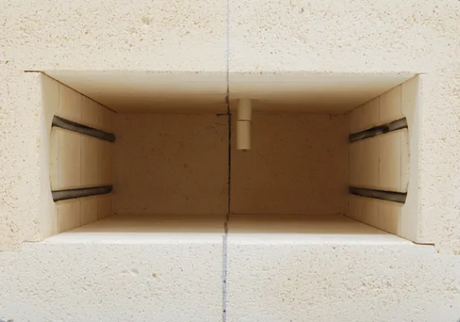
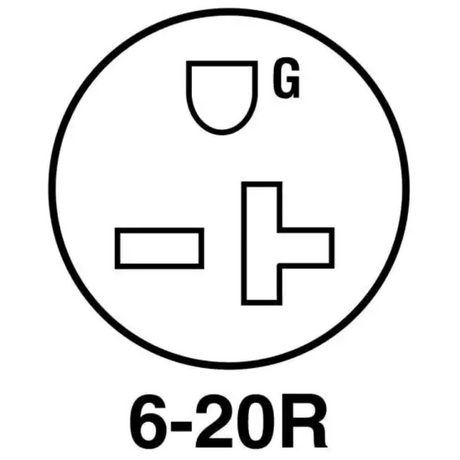
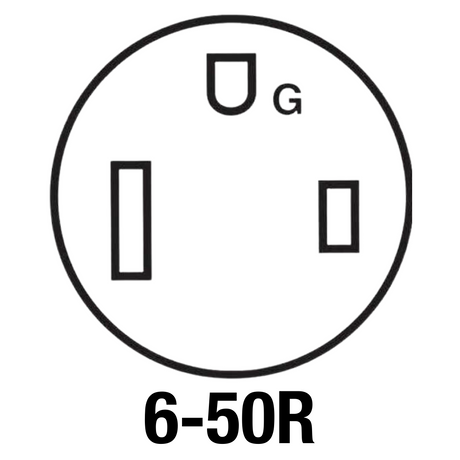
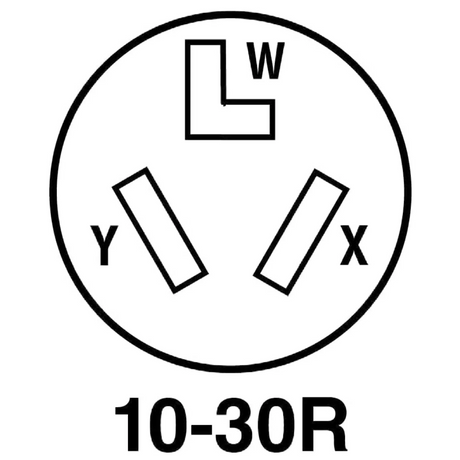
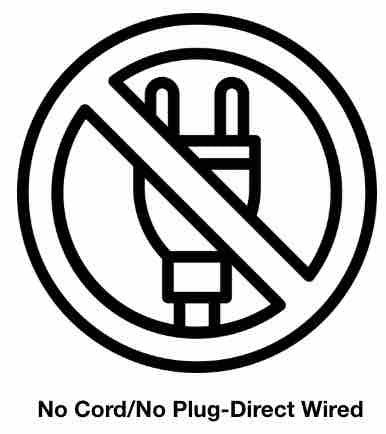
Plugs with Cords or Direct Wiring: Each kiln / oven model product page will identify which of the following power supply receptacles is used with that model. They are identified by voltage and amperage as well as the NEMA designation. Those described as "direct wire" do not use a receptacle, instead, they are permanently hard wired into your electrical breaker box.
Voltage Options: Voltages other than 120v and 240v are considered custom builds. These include 208v and 480v or units built to match international electrical requirements.
Wiring: Single phase wiring in standard on all 120v and 240v units. Wiring for 3-phase set-ups is custom as well. There may be additional fees from manufacturers to accomodate different wiring needs.
See Reference Image Here
Maintenance
Short and Long-Term Care and Maintenance
Short and Long-Term Care and Maintenance
Proper kiln / oven maintenance is essential for preventing downtime and costly repairs. Here's a checklist to help you keep your kiln in top shape:
Before Every Firing:
- Inspect: Check inside your unit for any unwanted items, moisture, or debris. Ensure your area is clean and "pest-free" to prevent unwanted surprises.
- Vacuum: Turn off the power to the unit and use a vacuum with a HEPA filter to clean the interior, removing dust and residue that could affect your project during firing.
- Clean: Remove flammable materials from the area around the unit.
- Inspect Elements: Ensure coils/elements are in place, free of debris, and securely fastened. Check thermocouples and tighten lid screws as needed.
- Check for Cracks: Examine your interior for cracks and address them to prevent issues during firing.
- Power Up: Turn the power back on and ensure the unit registers the correct room temperature.
Monthly Maintenance:
- Lid Check Up: Periodically tighten lid bands as the lid expands and contracts during firings. Most kiln / oven lids are manufactured with a protective coating on the "hot side" or inside. This coating was applied to optimize the heat insulation of the lid, as well as to prevent brick dust from falling into the unit. Address cosmetic lid cracks, and for structural issues, consult the manufacturer during the warranty period. If you are in the warranty period, DO NOT ATTEMPT TO REPAIR THIS without calling the manufacturer, as this could void your warranty.
- Body Check Up: The only things inside of your kiln should be your elements, pins, brick, kiln furniture/posts and kiln washed shelves. Remove any non-essential materials from the sidewalls to protect them and the heating elements. Be cautious when using kiln cement to repair cracks, and contact the manufacturer if needed during the warranty period. If you are in the warranty period, DO NOT ATTEMPT TO REPAIR THIS without calling the manufacturer, as this could void your warranty.
- Inspect Elements: Look for signs of wear such as rust, bulging, or thinning/thickening areas. Elements wear out with usage and may need replacement. If you find it necessary to change out your elements, make sure you speak to the manufacturer to determine the appropriate element size for your unit. Please refer to your operator’s manual for the discussion and photo's of "Element Replacement".
- Electrical Check Up: Regularly examine the power cables, receptacle, and plug for discoloration, heat, corrosion, or loose connections. Address any electrical issues promptly, and consult the manufacturer if needed, especially during the warranty period. If you are in the warranty period, DO NOT ATTEMPT TO REPAIR THIS without calling the manufacturer, as this could void your warranty.
Regular maintenance will help your kiln perform efficiently and extend its lifespan.
Safety Precautions
Safety Precautions
Kilns, Ovens and Furnaces are as safe as any other electrical appliance when used under normal and proper operating conditions. All unit safety precautions should always be observed.
- Use common sense while installing and using your unit.
- Do not install your unit closer than 12" from any surface, or closer than 18” from a combustible surface. Remove all potentially combustible materials from the work area.
- Make sure all electrical specifications are followed. Use correct voltage, wire size and circuit breakers. Make sure all connections are tight. Avoid using aluminum wire. Always use the proper grounded receptacle. A qualified electrician or service person should be used for all electrical service or repairs.
- Install in covered, walled in, well-ventilated area. Fumes from firing should be vented to the outside.
- Avoid moisture. Do not allow your unit to get wet. Never use your unit outside without protection from the elements!
- Always keep unsupervised personnel away. Surfaces will get hot and burns could result.
- Fire the unit only to the manufacturers recommended firing temperature. Improper firing temperatures beyond the unit rating could result in damage.
- Replace any worn or defective parts with ONLY genuine replacement parts.
- Unplug / Cut the Power to the unit when not in use and if there is an electrical storm.
- Unplug the unit before servicing or vacuuming.
- Do not drop or slam the lid shut.
- Let the unit cool to room temperature before opening the lid.